Table of Contents

Solar-Powered Lamp teacher's guide
Materials
[See each category]
Lesson Outline:
Intro to electromagnetic fields
- Shake dynamo lesson
Make the Lamp
Background Info
This lesson will focus on how to construct an effective light, and each pair of students should build one LED lamp. A lamp requires the following materials:
- Circuit:
- Several bright LEDs
- Wire to attach lights to battery
- Battery pack (make your own)
- Batteries (rechargeable are best: AA camera batteries or cell phone batteries)
- Switch (maybe make your own? Can you find one?)
- May need a resistor to protect LED from high voltage
- Lamp materials—be creative!
- Mirrored surfaces for reflectors: aluminum food wrappers, metal cans, CDs, full water bottles, etc
- Something translucent for diffuser: paper, clear plastics, bottom of a water bottle, etc
- Something structural to hold the light in place: wood scraps, plastic bucket, sheet metal, cardboard, etc
- Tools:
- For the circuit: soldering iron and solder
- To strip cables and cut materials: scissors or knives
- To build the lamp: glue or hammer and nails
- Other:
- A dark place to test the lamps, or shades to darken the classroom
Building
1. Make a battery pack and a switch. [Instructions go here!!]
2. Make an LED circuit. [Assumed knowledge: electromagnetic fields, basic circuits]
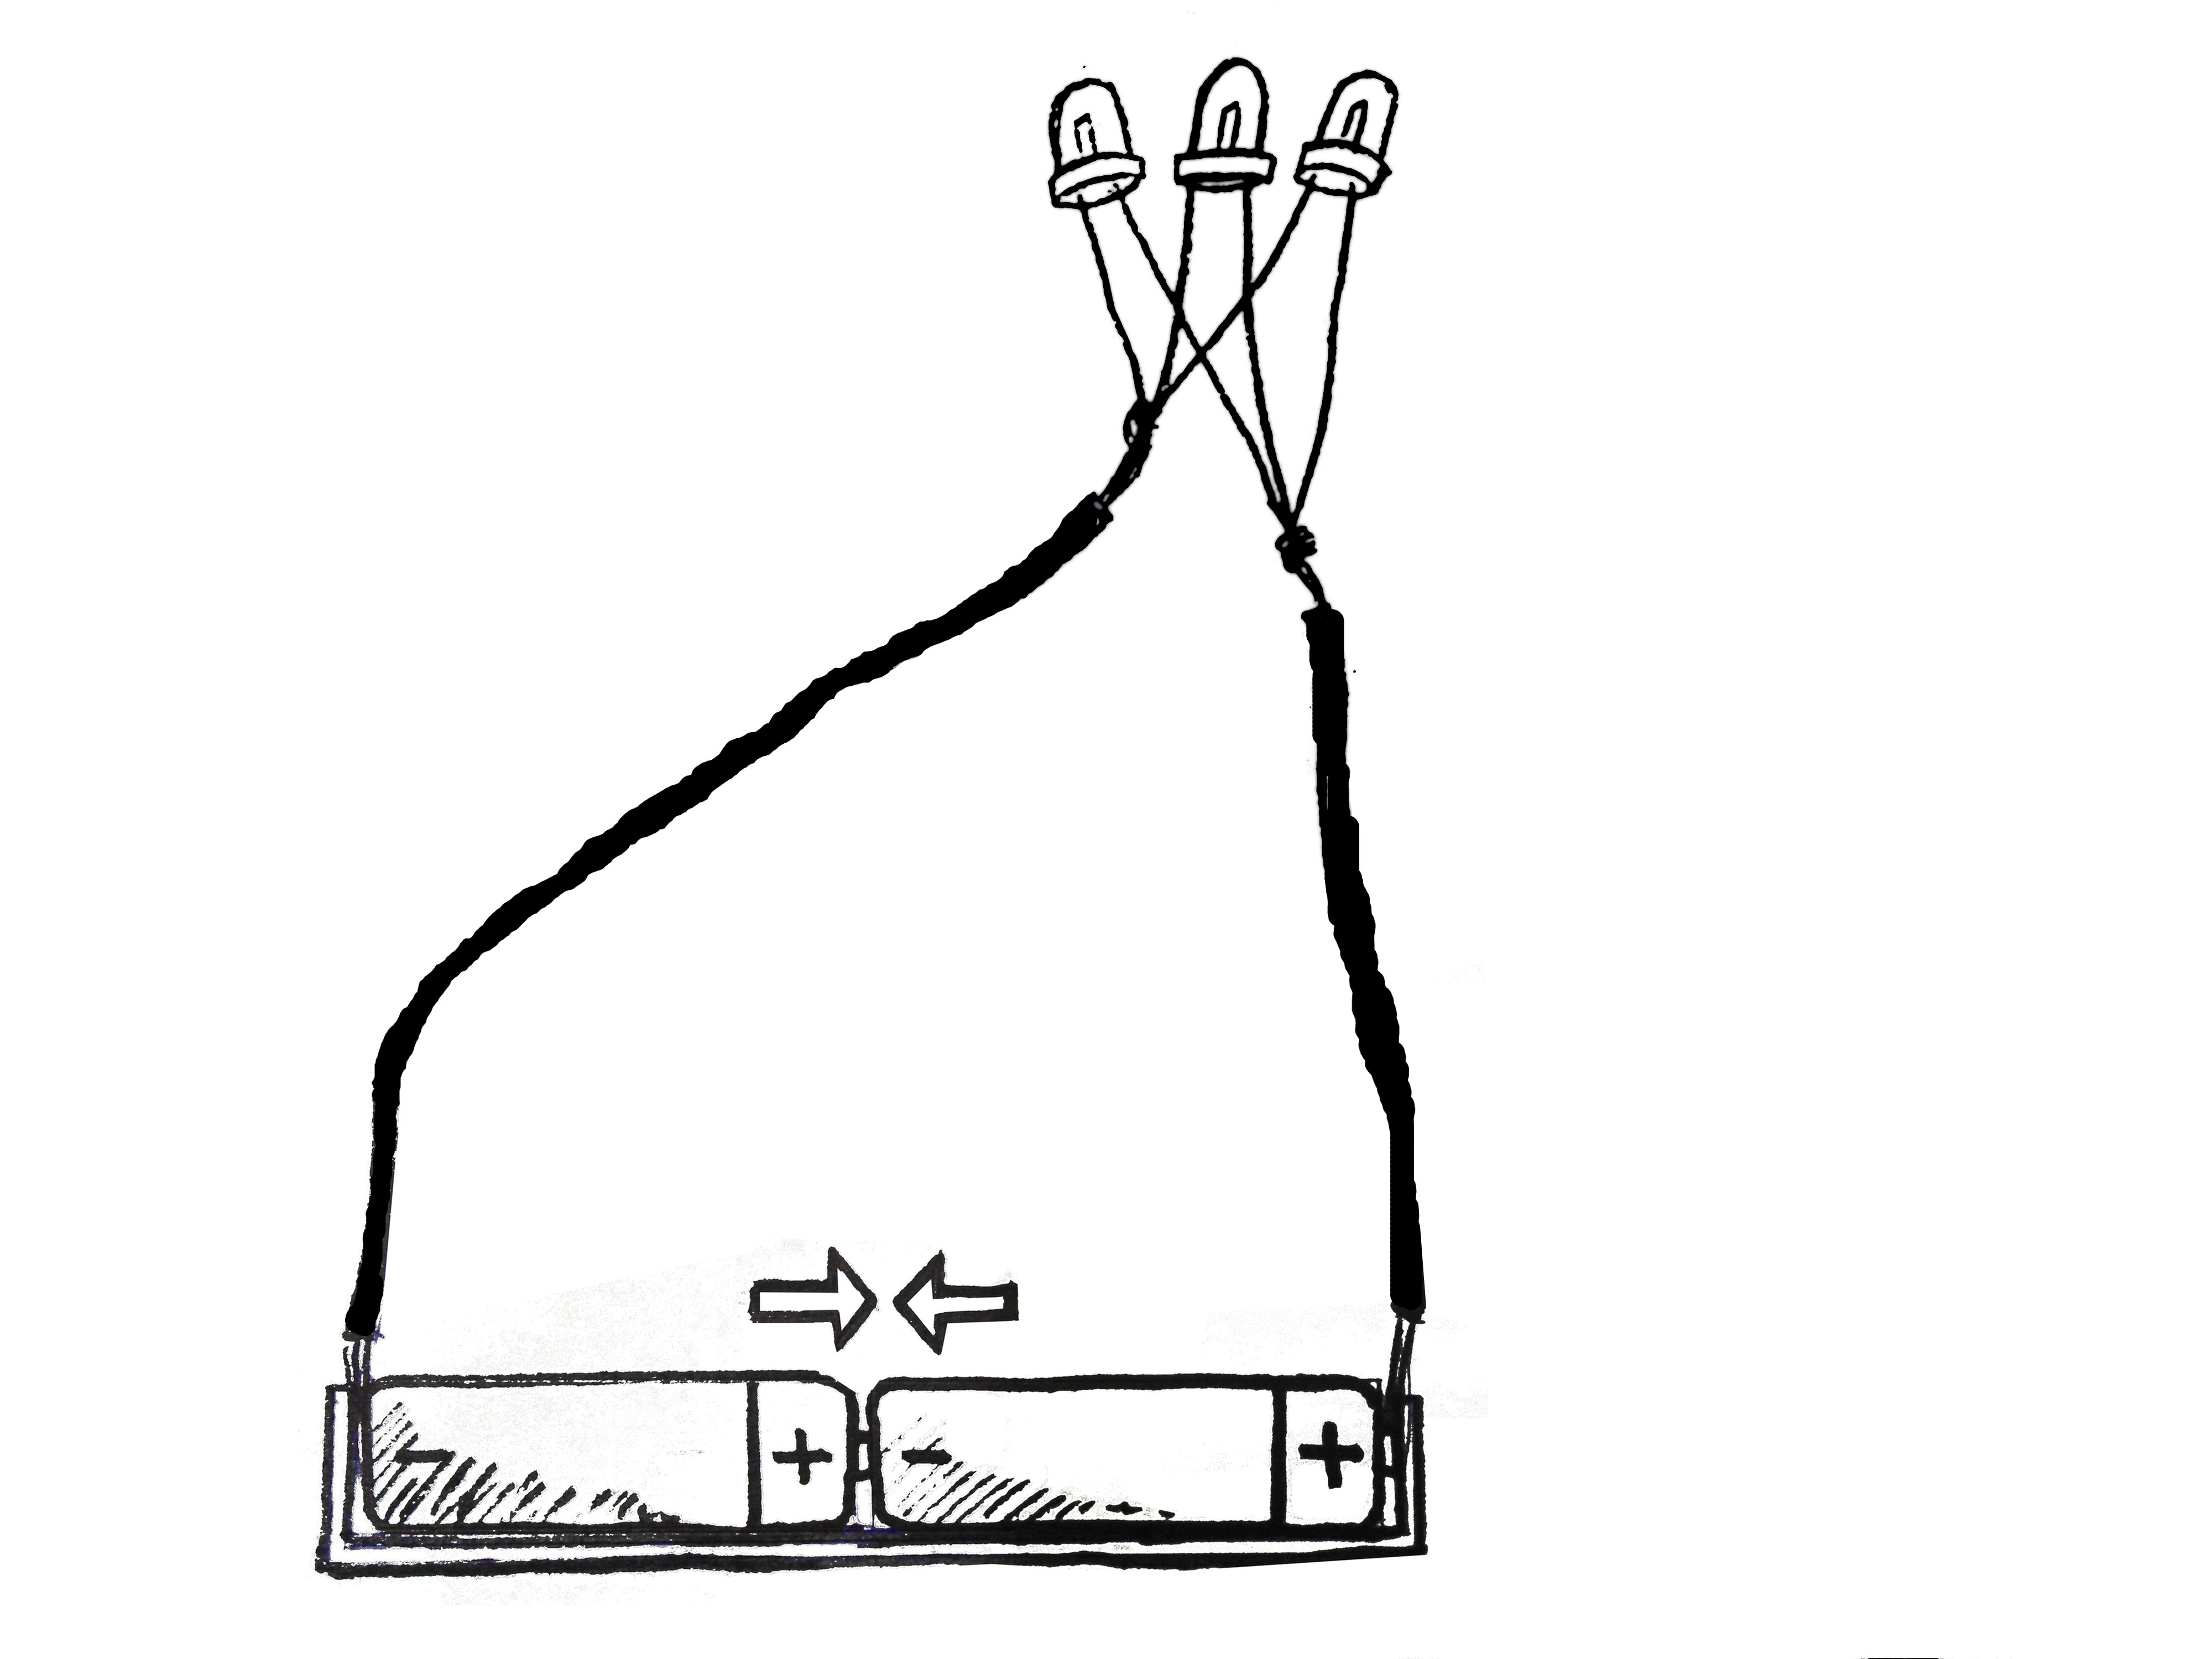
Connect your LEDs together, probably in parallel. Test all the LEDs to make sure they face the right direction. If you need a resistor, attach it to the circuit.
Solder or twist your LEDs onto two pieces of cable: one for the positive end of the battery, and one for ground (the negative end). Make sure that the LEDs will light up, but you might not want to attach the lights to the battery permanently until you build your lamp.
LED notes: LEDs are made of special materials called semiconductors, which create an electric field when you put two different ones next to each other. This means that the current will only flow one way through an LED— if you connect the LED to the battery in the wrong direction, it won’t light up.
One of the semiconductor materials has lots of electrons, and the other material has lots of spaces for electrons. When enough current flows through the LED in the right direction, the electrons in the first material will get enough energy to move to the second material. Then, they will fall down to a lower energy state and emit light. [Is this necessary? Explain energy states, or get rid of this?] The engineers who make LEDs can control how much energy the electrons have in different LEDs, which means they can make lights in many different colors.
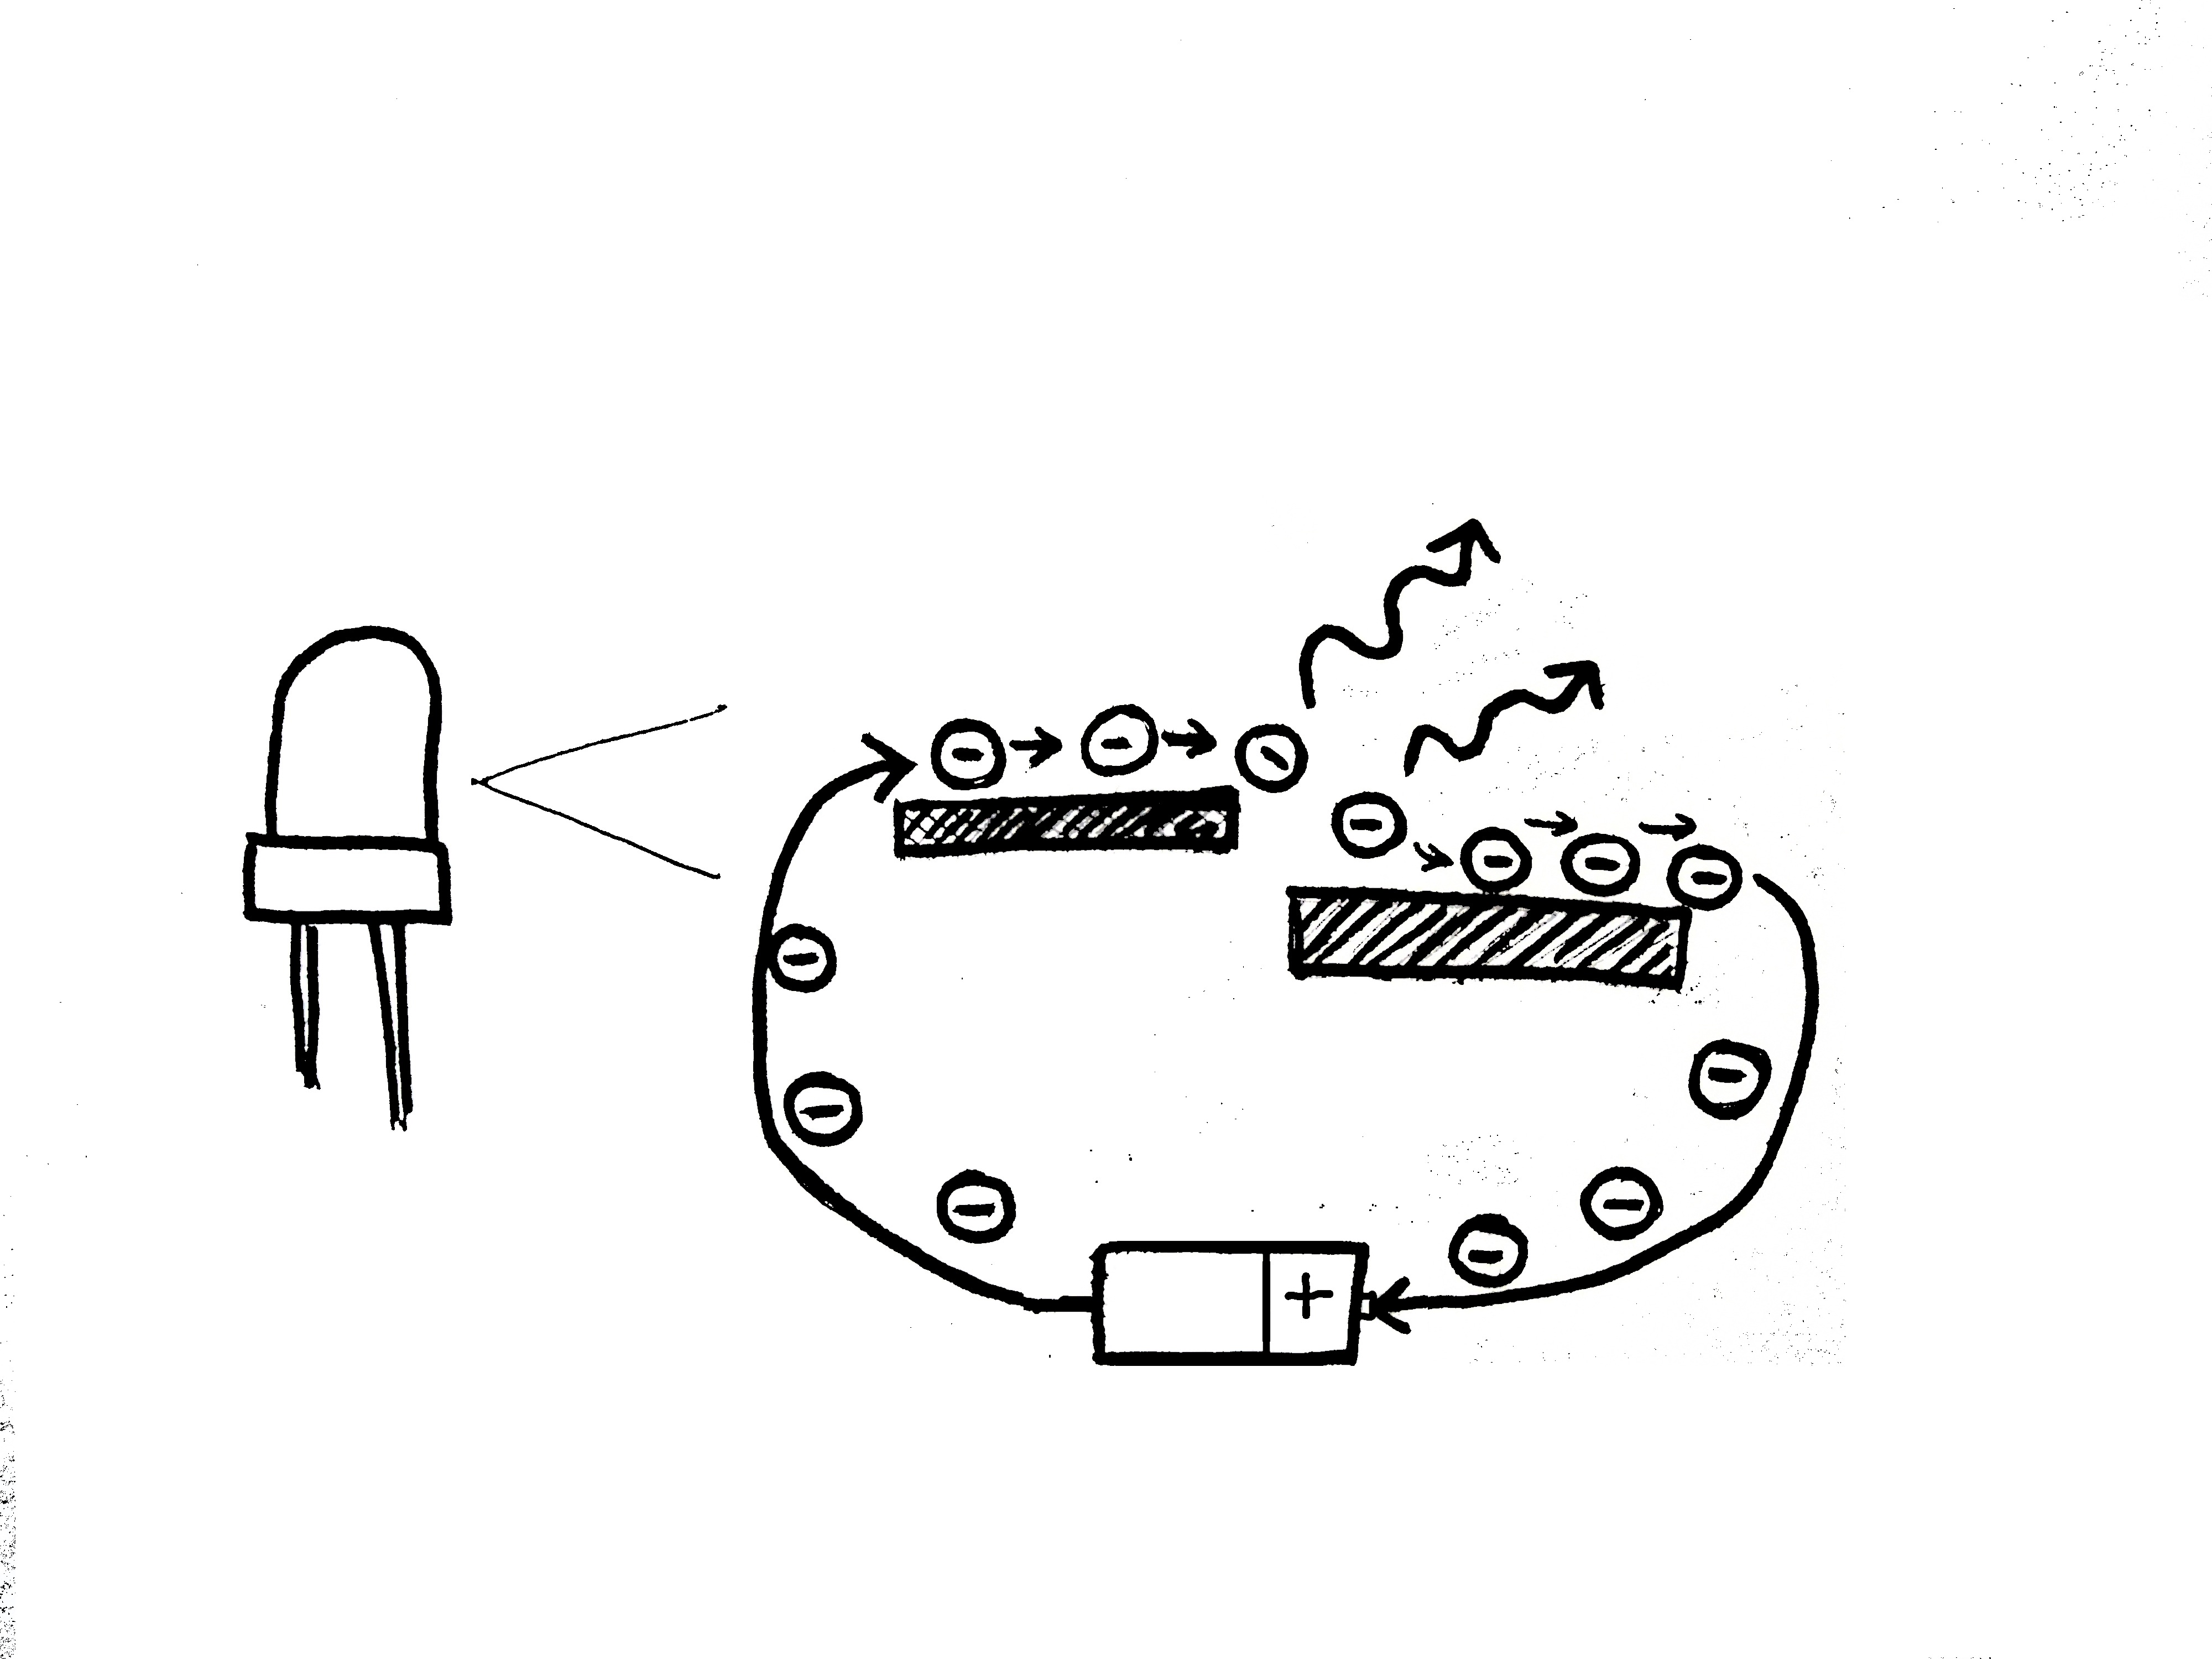
[do we like the wibbly lines? Grace also made one with arrows instead of wibblies]
LEDs don’t need as much electricity as normal-sized (or incandescent) lightbulbs that you might see in houses. Regular lightbulbs use thin pieces of metal for filaments—these give off light when electricity flows through and heats up the metal because of its high resistance. These lightbulbs light up for the same reason that iron glows red-hot when you put it in the fire. [Details?]
3. Build your lamp [How much structural engineering will students have at this point?? The newspaper tower challenge might be a good intro to this lesson.]
The shape of your lamp will depend on what you'll do with your lamp.
Do you want a lamp to hang on your wall? You will need to make a string or a hole so you can attach it. Make sure that your lamp is strong enough to hang on the wall– think about which parts will be under stress when it is hanging.
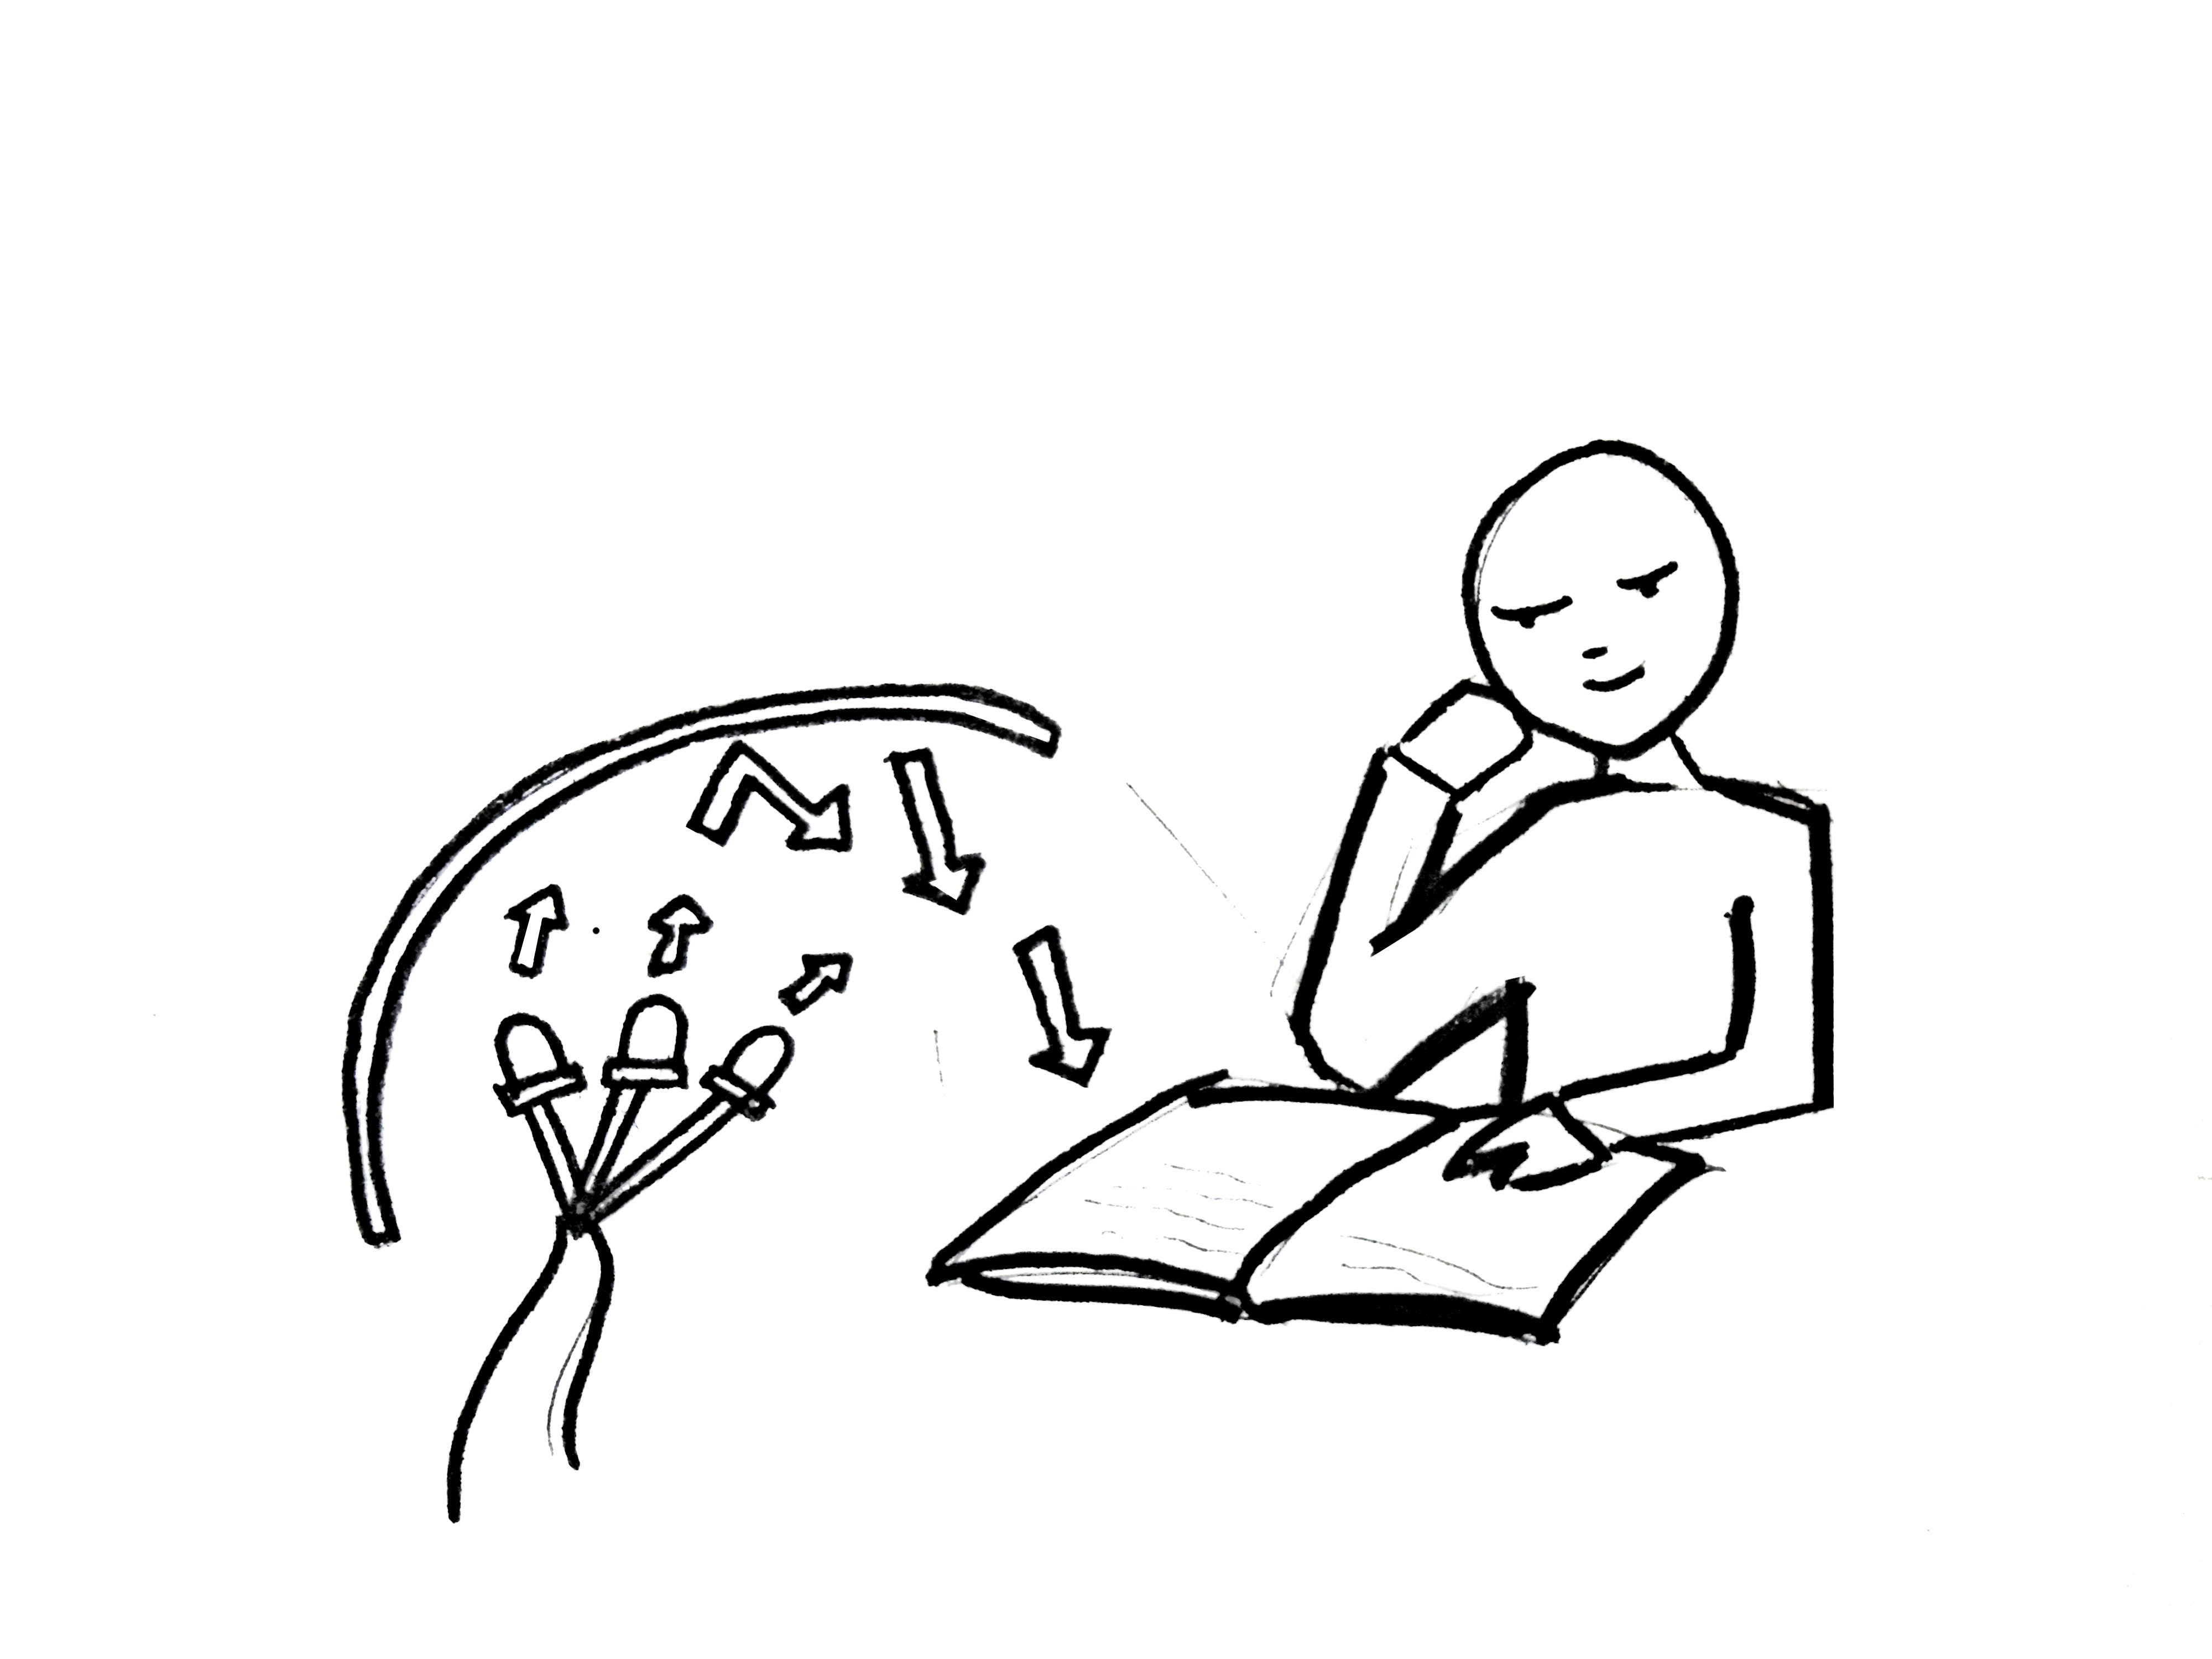
If you want a desk lamp, the light must be high to shine down on your books. The neck of the lamp should be firm enough to stand up without flopping over. The higher the neck, the stronger the base of the lamp must be to support it. A good base is wide so the top of the lamp can balance, and heavy so the lamp doesn't tip over.
When you build a lamp, you have to consider where you want your light to shine.
Is this a desk lamp, to light up one book?
Is this a kitchen or work lamp, to brighten the whole room while you’re working?
Here are some questions to think about…
- How bright is your light?
- Where does your lamp point?
- How much space does it light up?
Of course you can change how many lightbulbs you use, but there are many more ways to design a lamp. If you only want the light to shine downward, consider putting a cover or lampshade over the top of the lamp so it doesn't shine into your eyes.
You can also use the properties of light to change how your lamp shines.
[I might separate these Disembodied Hand images into their own sections.]
Reflection
Demonstrate reflection by shining a light onto a mirrored surface.
Light is a form of energy, like heat. If you shine light on a mirror, the mirror will reflect light back at you— like if you kick a soccer ball at the wall and it bounces back.
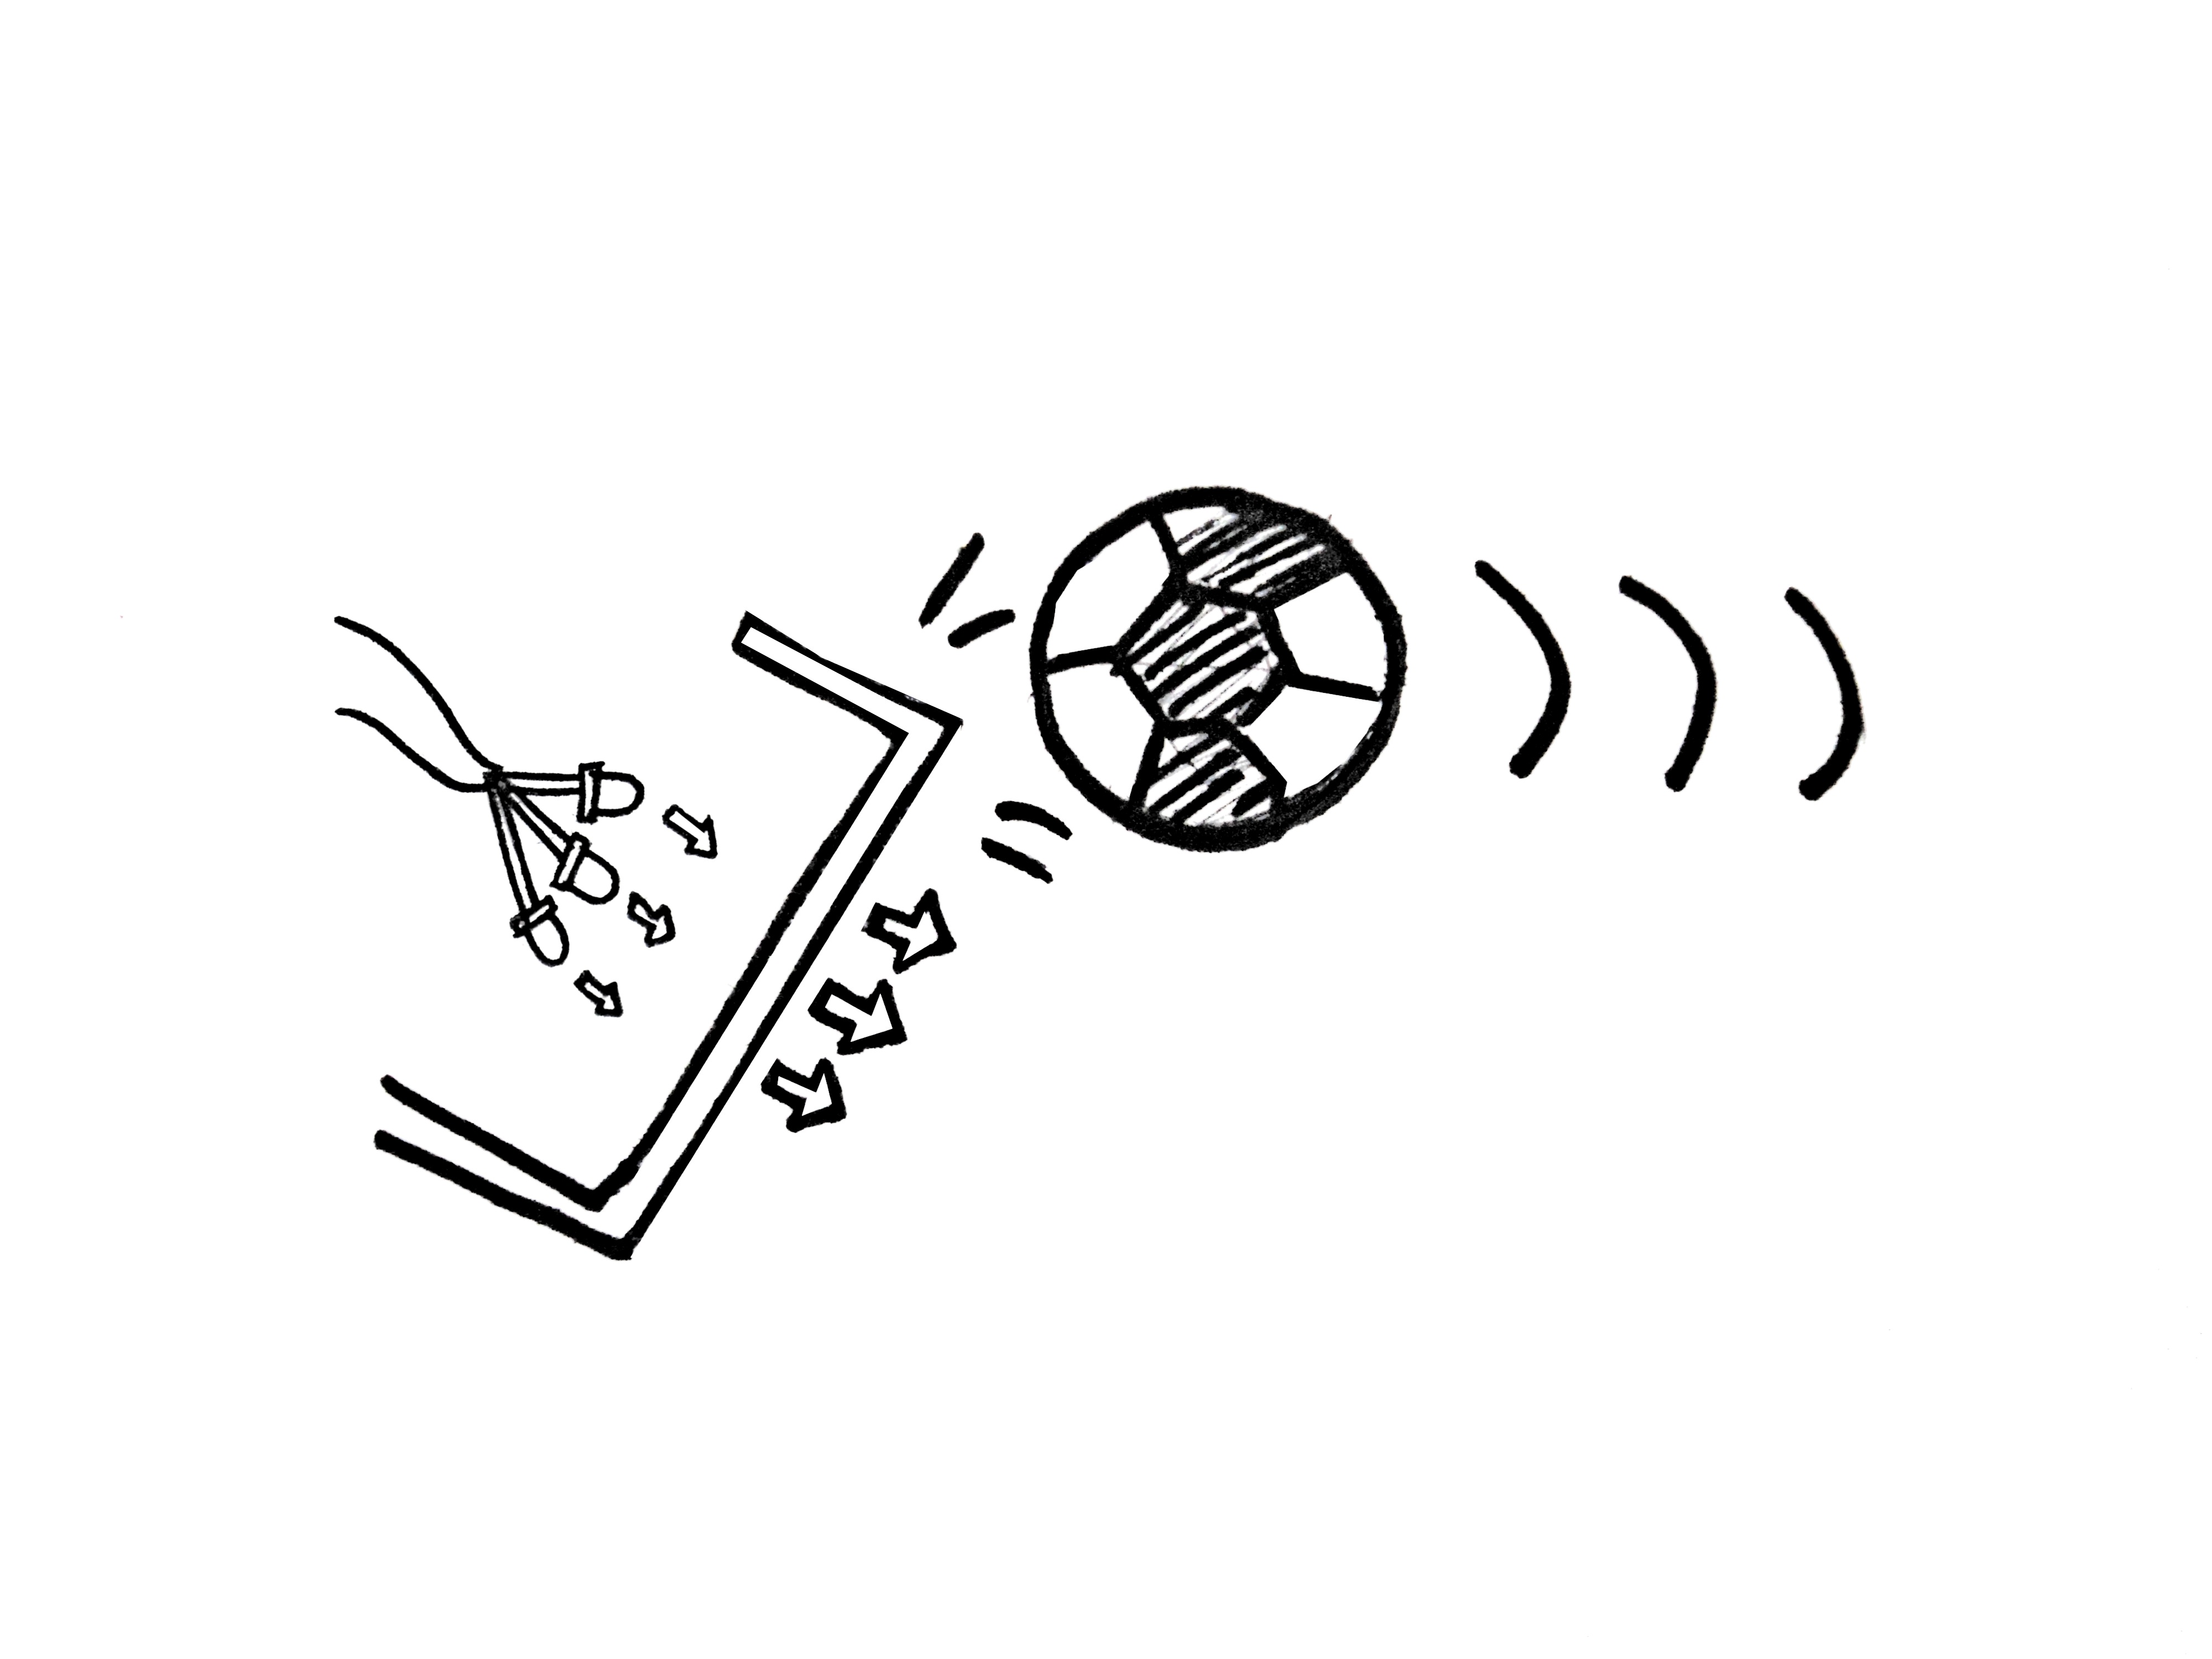
[Possibly this image should have the light-arrows facing the opposite direction– so it's like a mirror instead of a glass.]
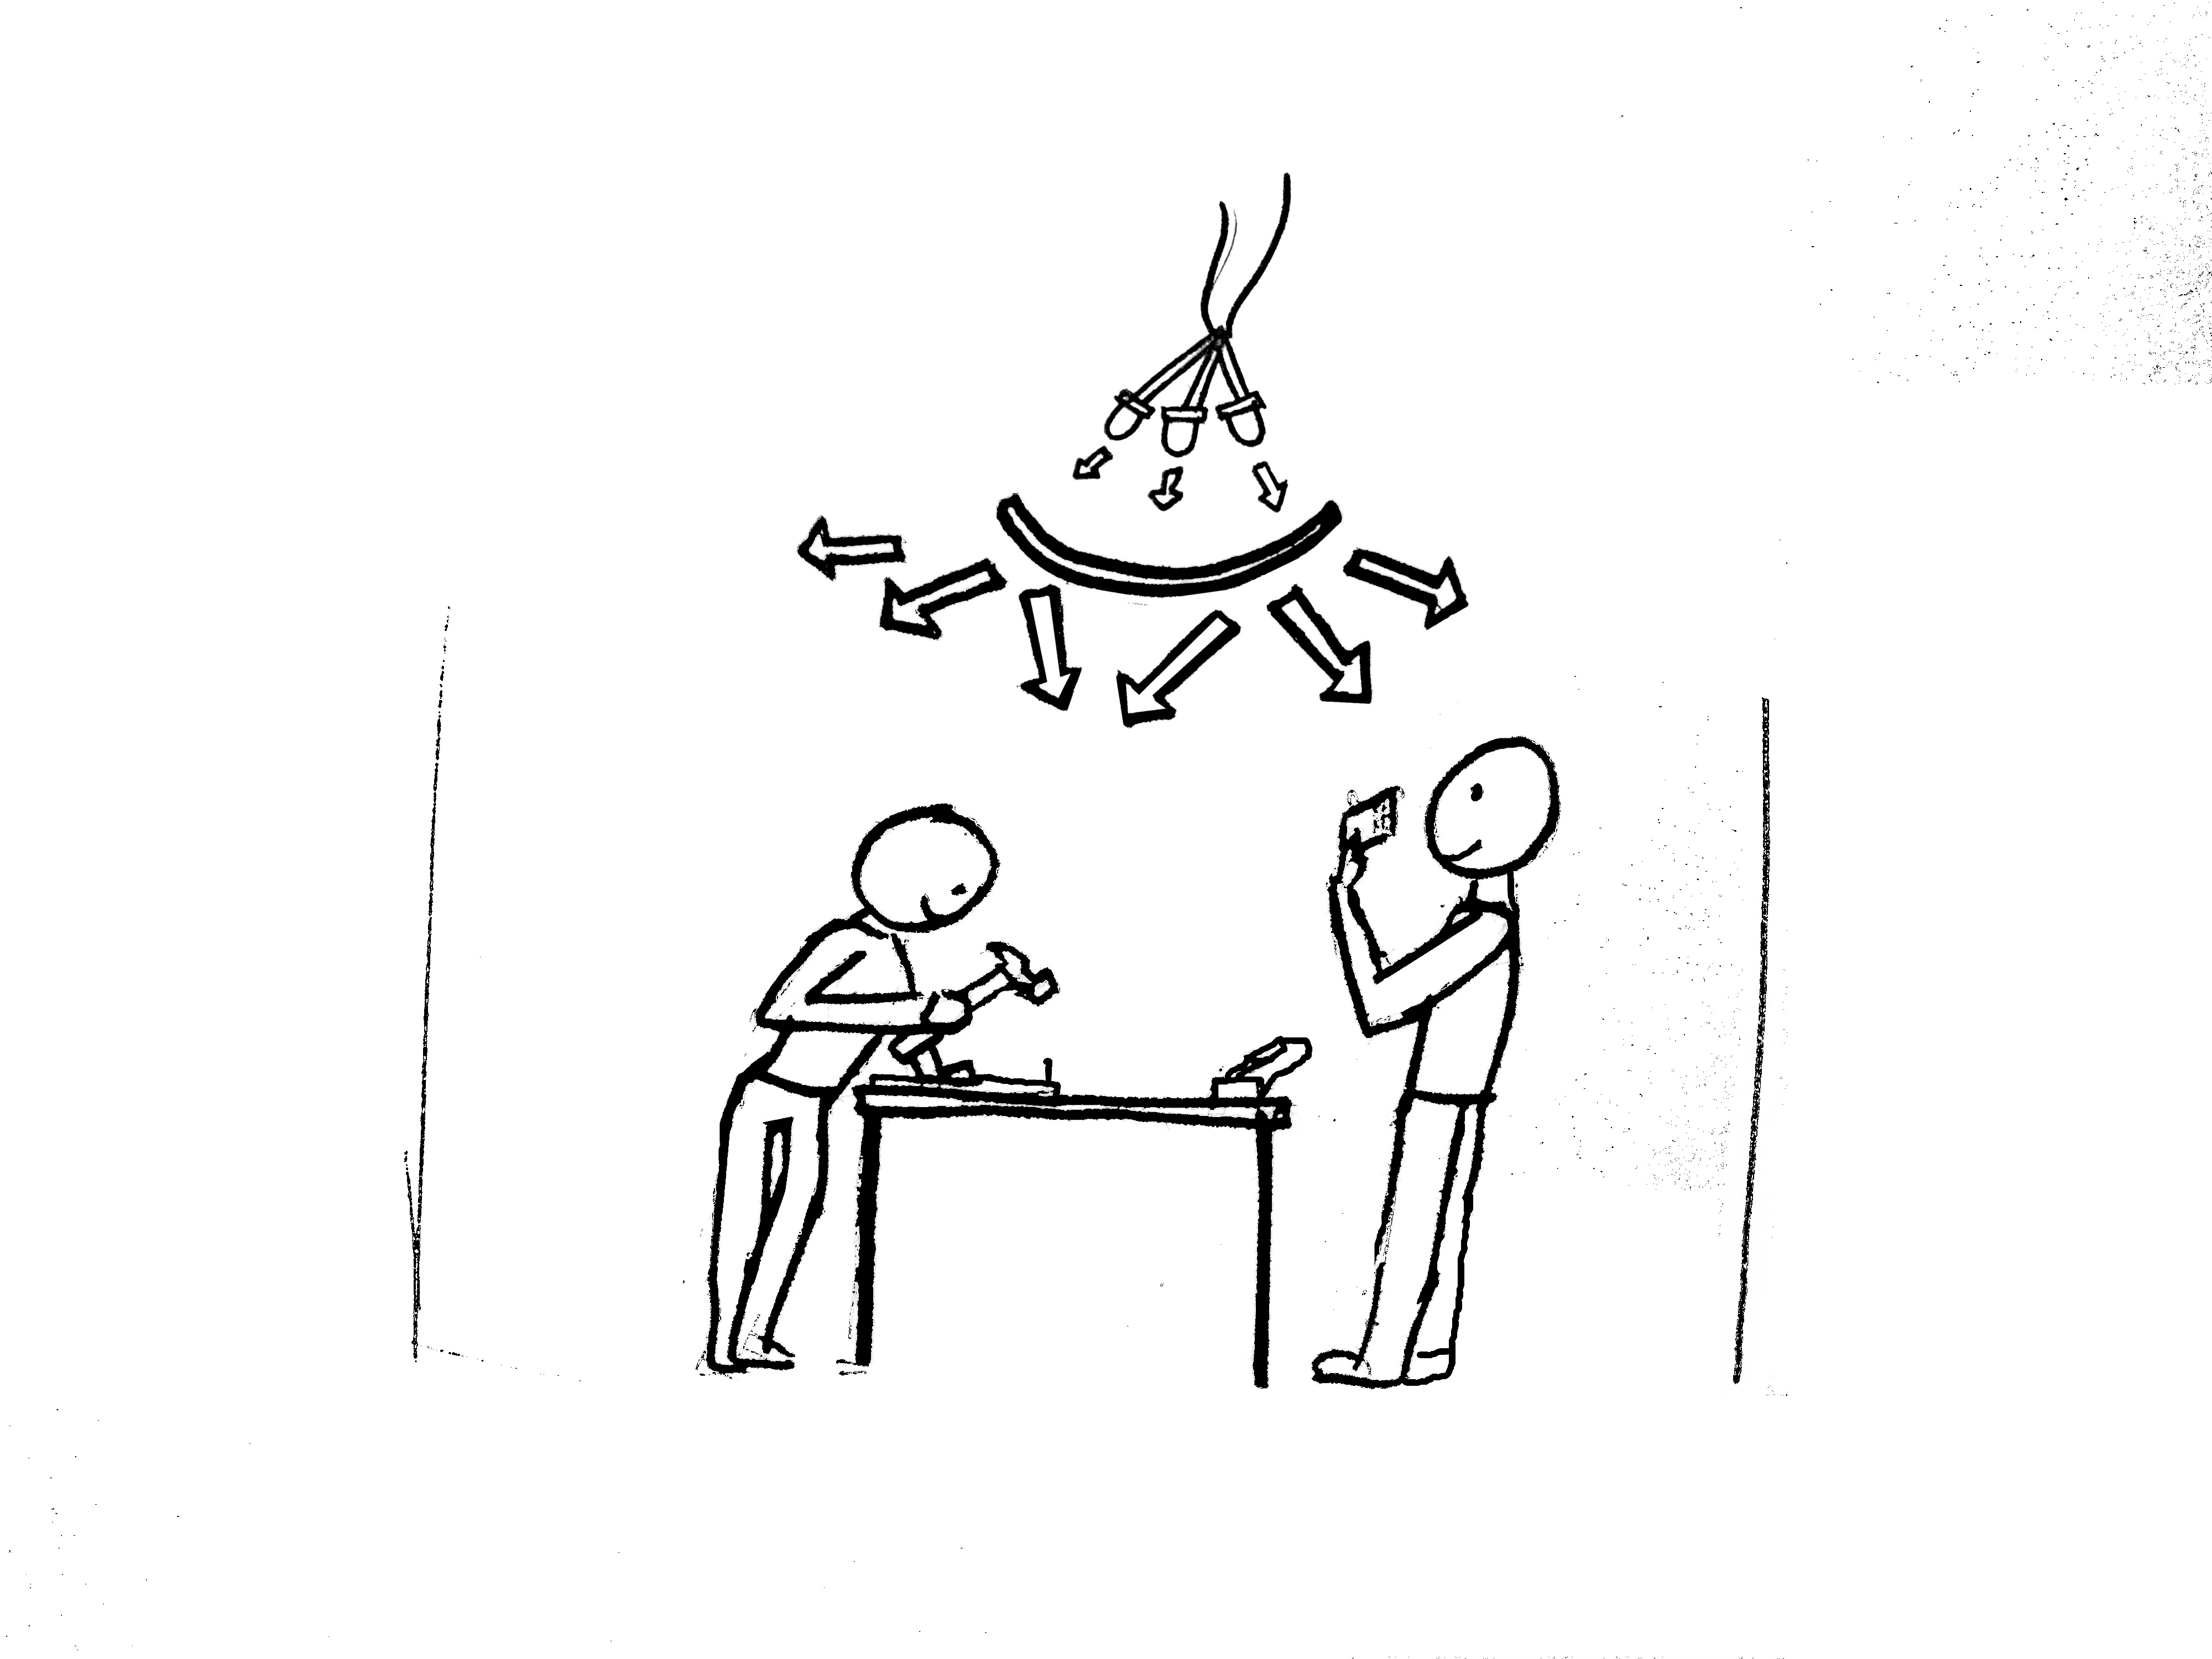
So if you want to make your lamp brighter, you can reflect the light with mirrored surfaces. Many lights have metal domes around them, so the light bounces around and shines out brightly.
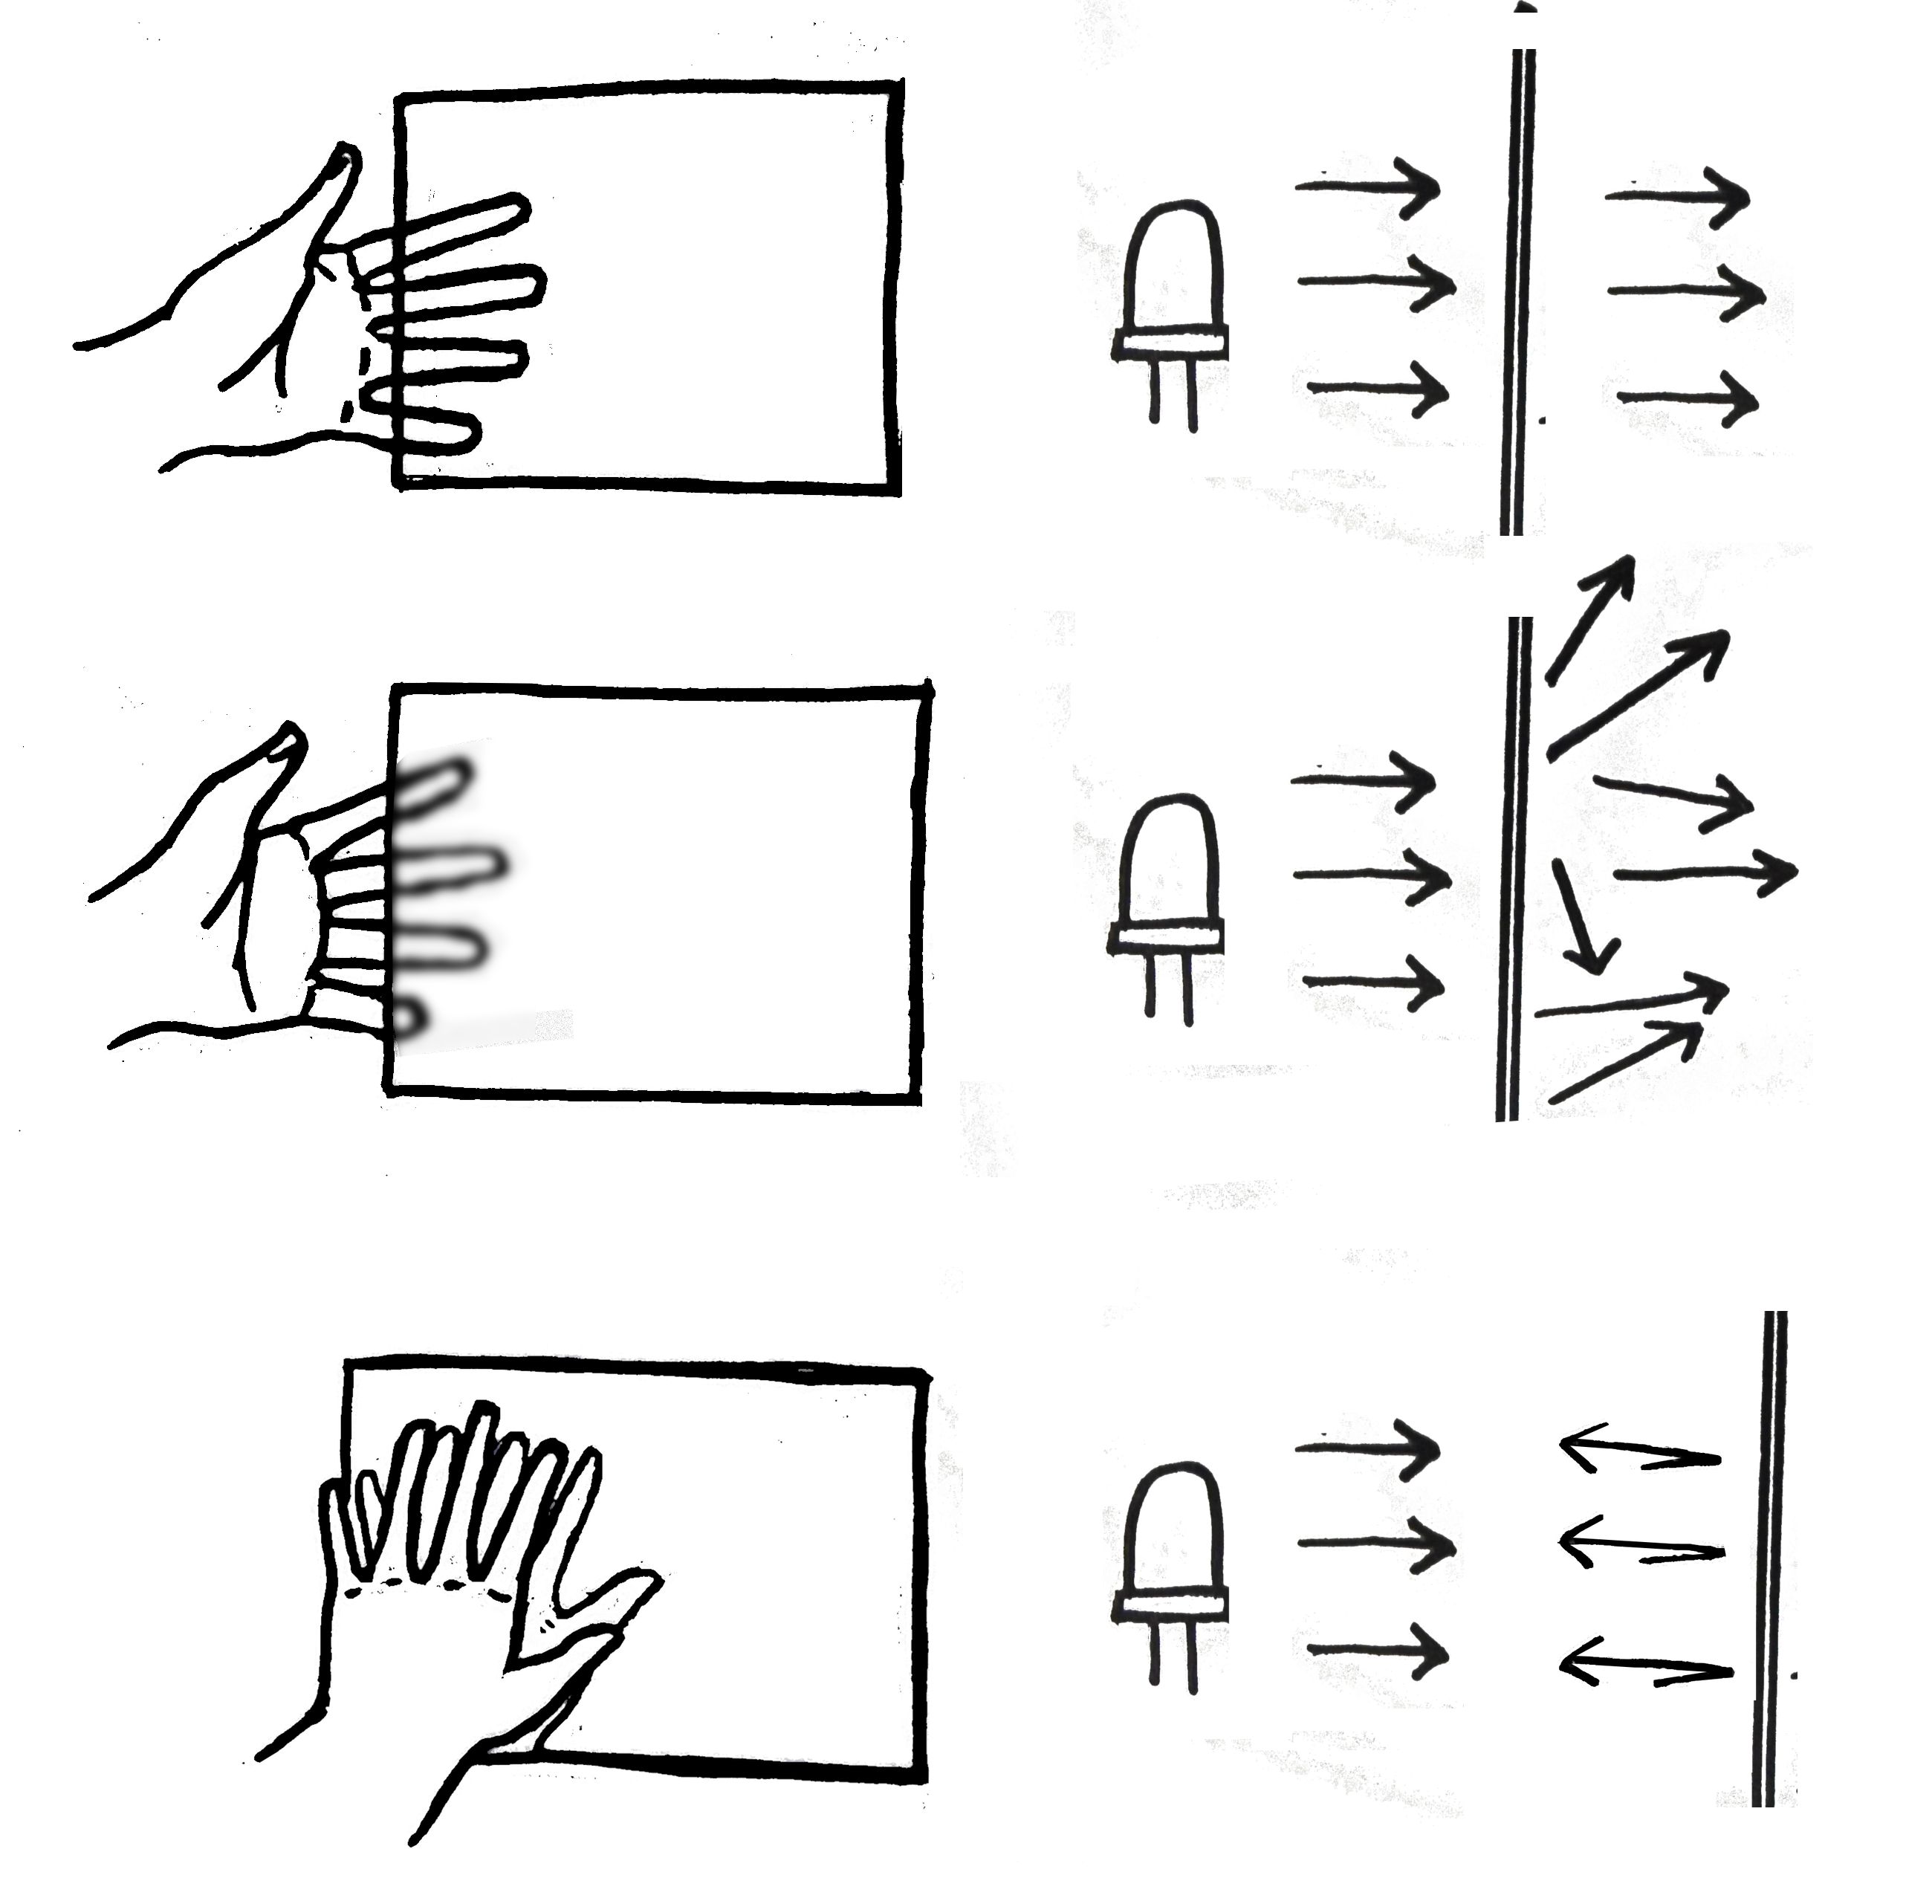
Diffusion
Demonstrate diffusion by comparing the light cast by a single bare LED to the light cast by an LED behind a piece of paper. Pay attention to how much more space is lit up with the paper diffuser.
When you shine an LED on a thin piece of paper, the light reflects off the particles inside the paper and bounces around in different directions. This is like kicking a soccer ball at an uneven wall, so you don’t know where it will bounce back— except light is made up of many different waves, so you have dozens of balls bouncing around.
With thin paper, much of this light comes through to the other side instead of getting reflected back. You can put paper or another diffuser material in front of your LED to spread out the light in more directions. A diffuser must let enough light through, but it can’t be completely transparent— or else the light will continue in the same direction instead of getting reflected. If you have three lightbulbs, a diffuser could make your lamp shine like one light instead of three separate lights.
The bottom of a clear plastic water bottle makes another good diffuser.
Transparency
Some materials are completely transparent, like clear glass and plastic. These materials are good for protecting your LED, because light travels straight through without changing direction.
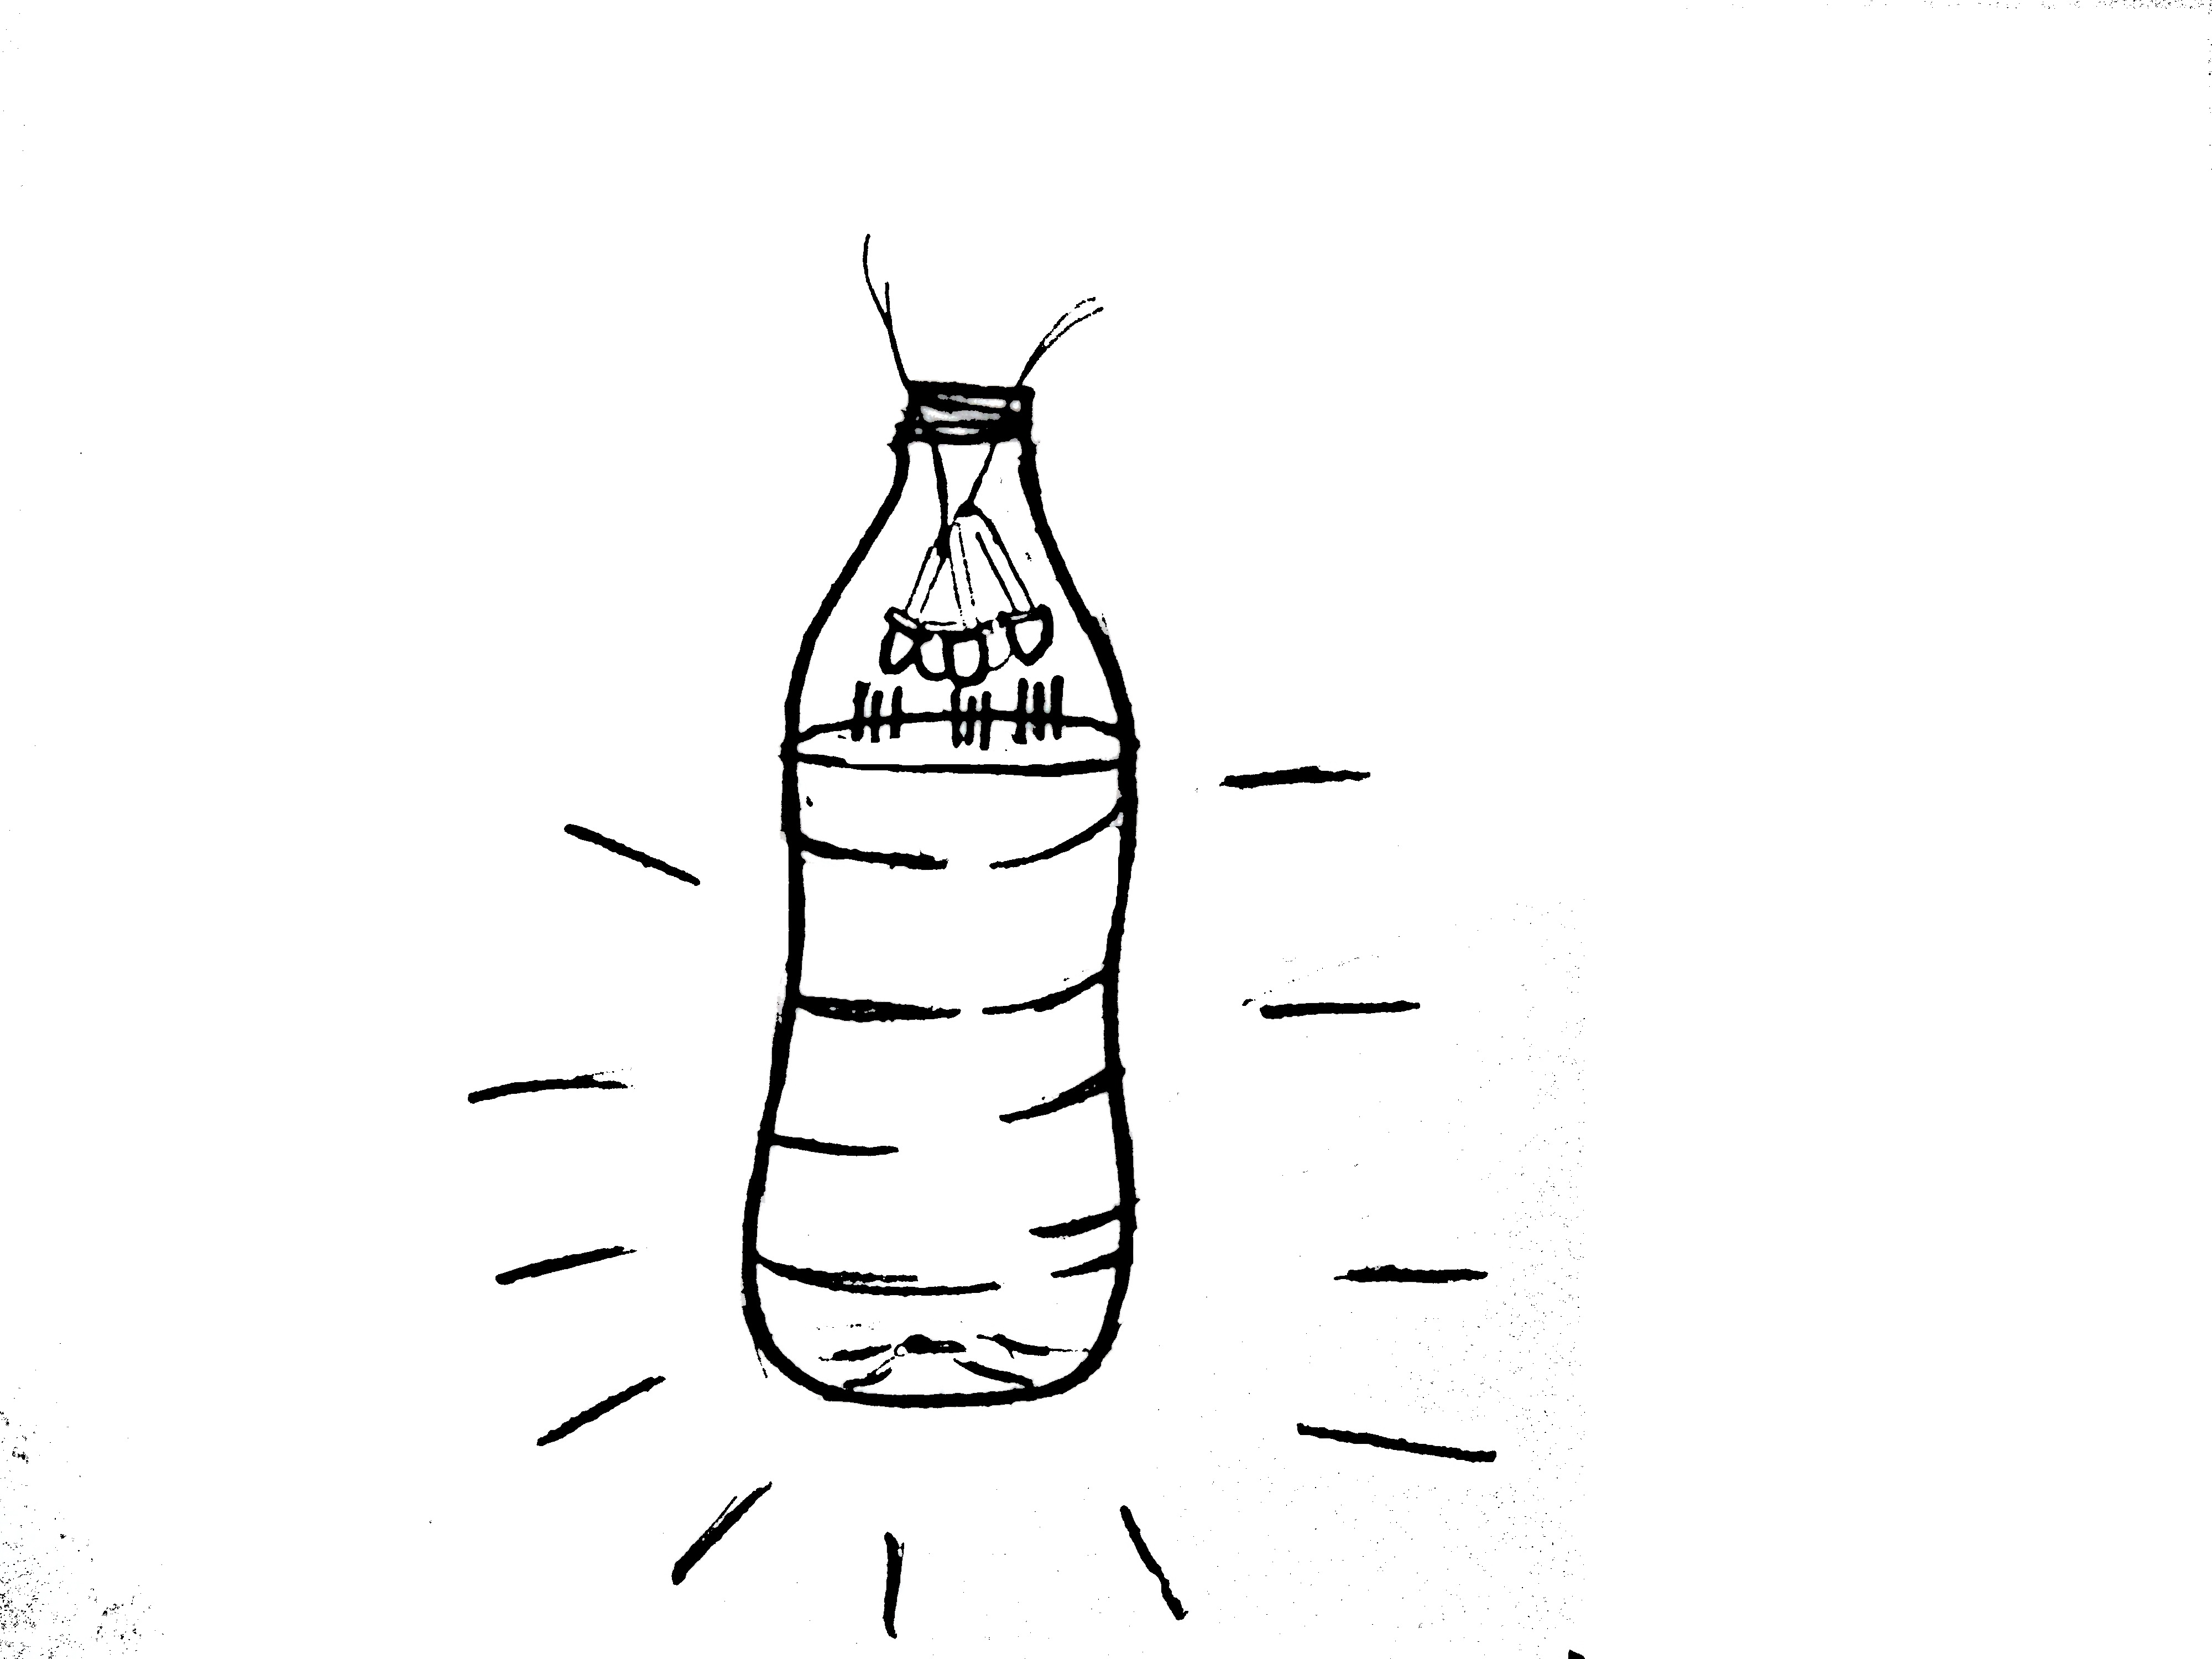
Scattering
Shine an LED into a full bottle of water. The water particles both magnify the light and scatter it all around, so you can light up an entire room with one water bottle.
[NOTE: maybe put the Skylight lesson here— use water bottle filled with bleach to capture UV? Or just reflect light?]
Local Research
- Where can you find bright LEDs? [like battery lesson] - Good building materials
Intro to photovoltaics
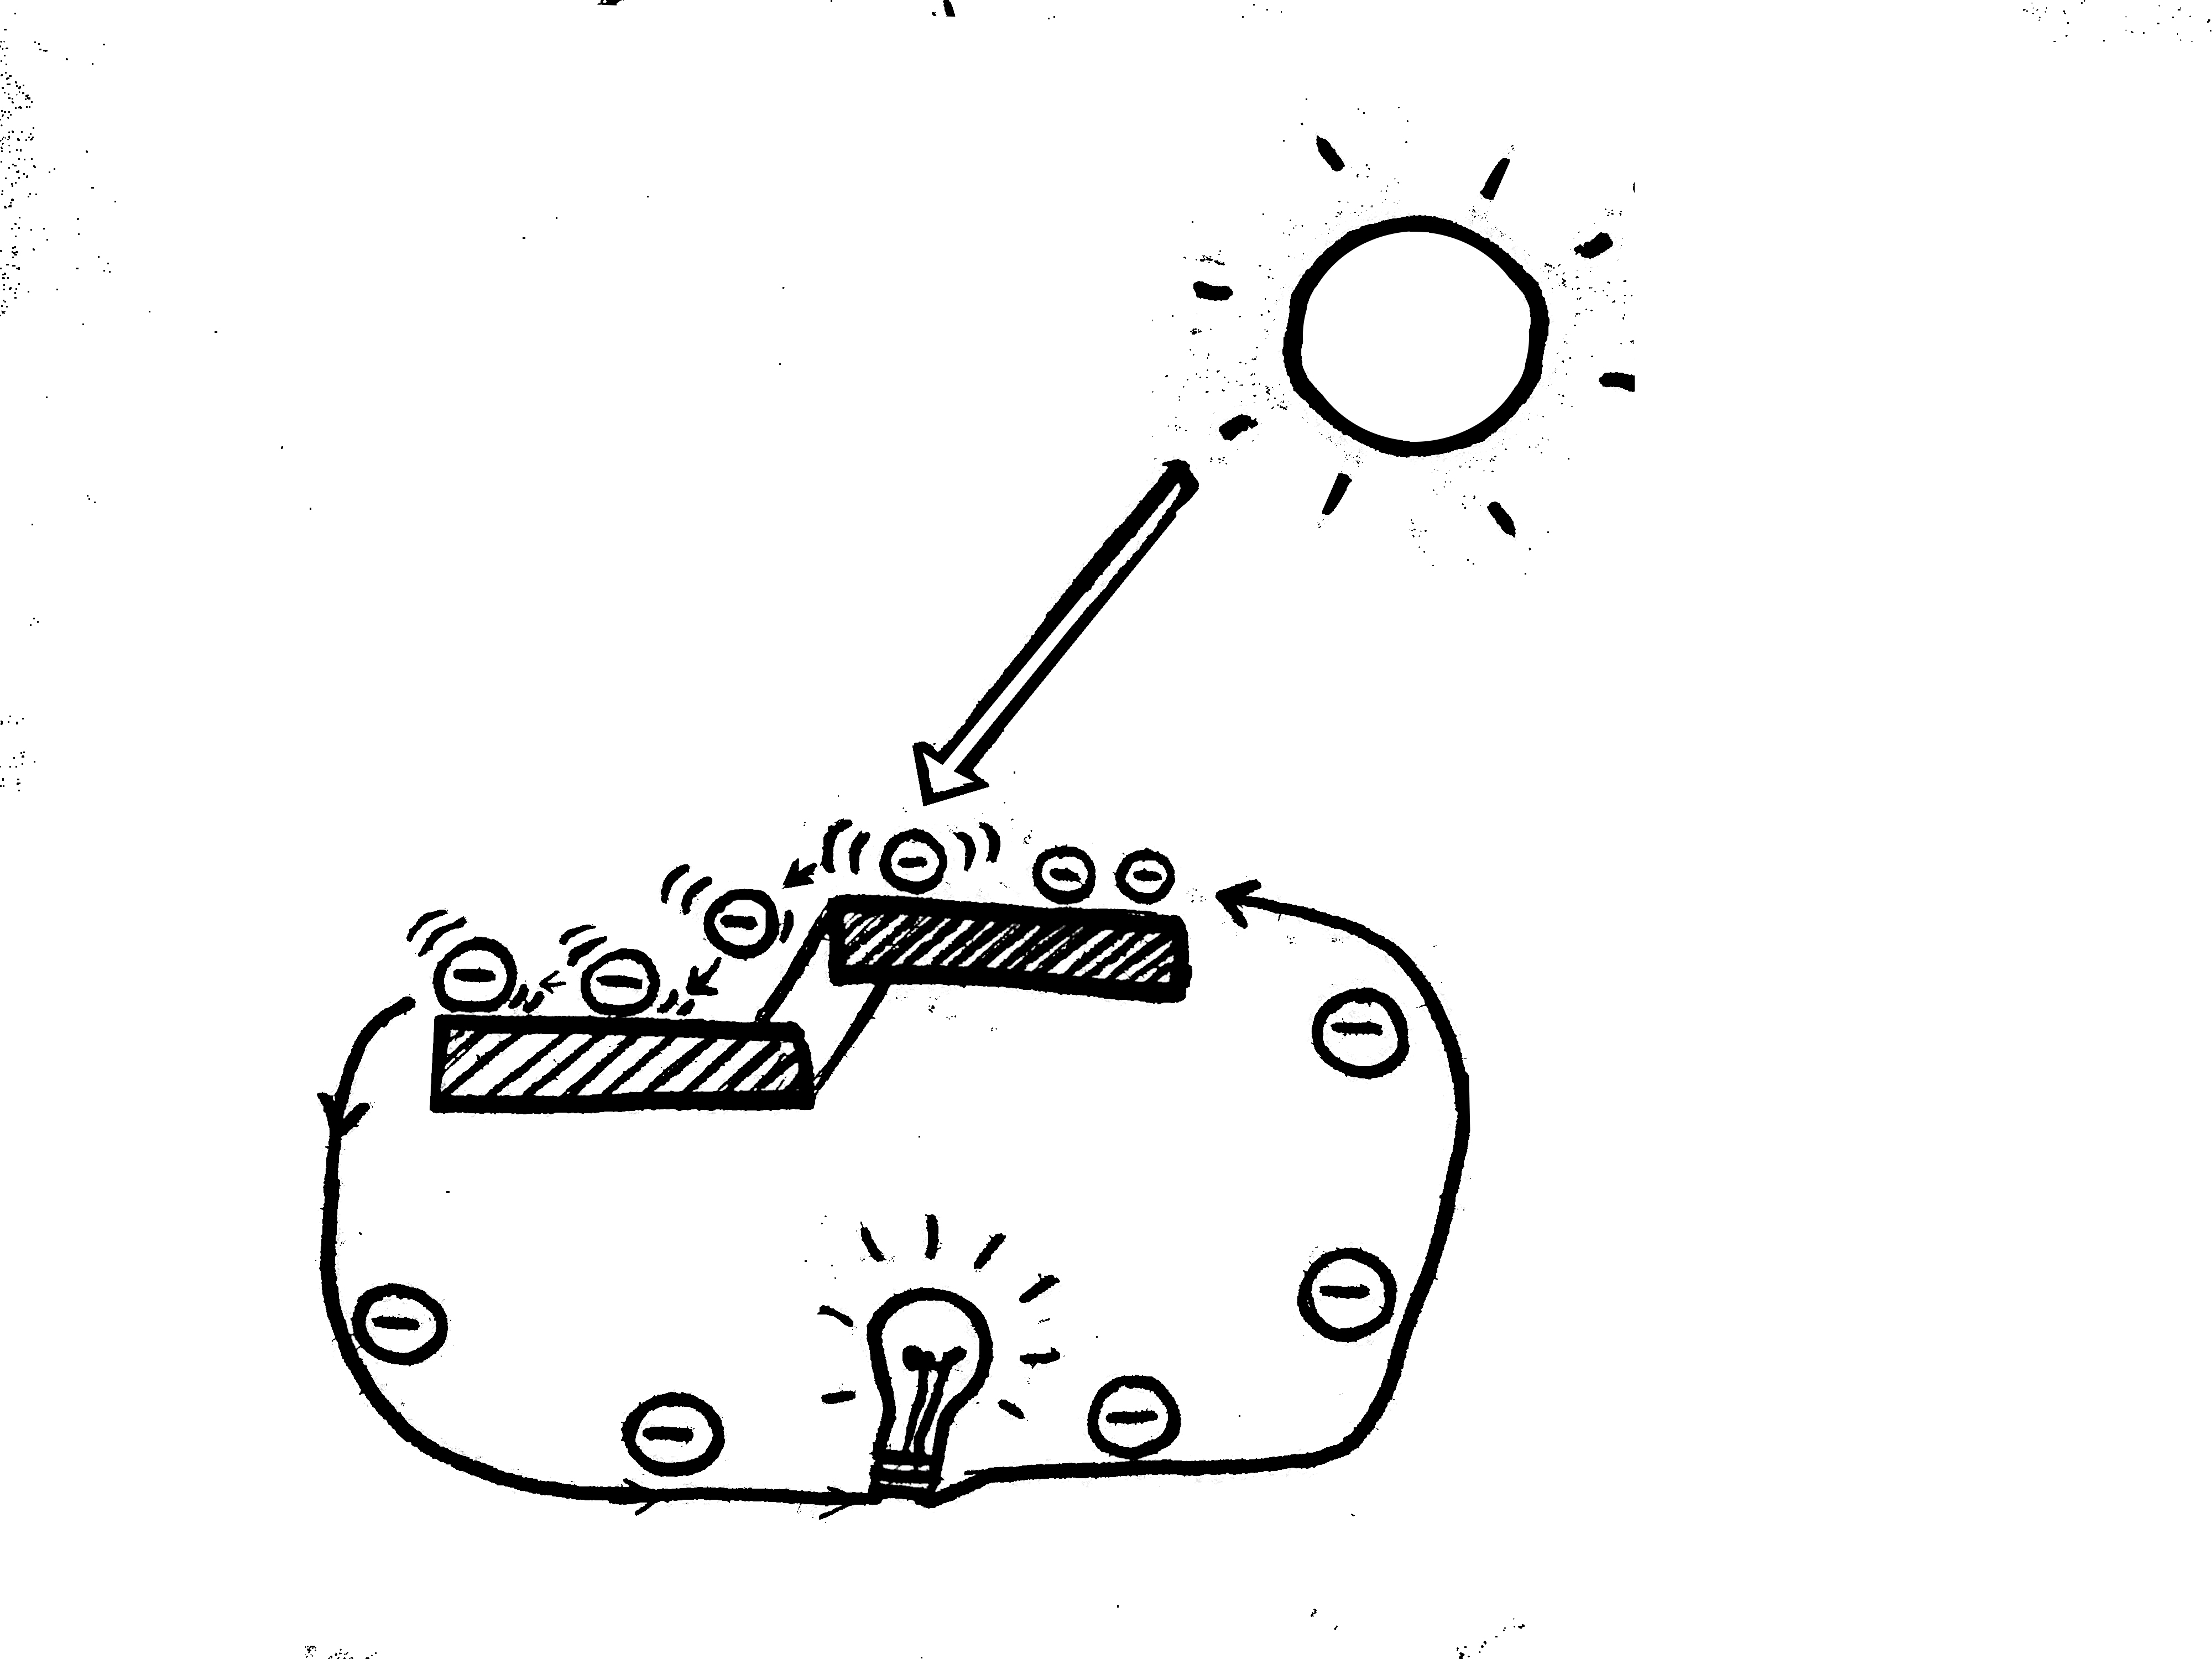
- You can combine two different materials to create an electric field. When the sun shines on this photovoltaic cell, the sun’s photons (light particles) give energy to the electrons in the materials. Thanks to the electric field of the cell, the electrons will only move in one direction— generating an electric current. [Should we reference the LED semiconductor discussion here?]
- Each row on your solar panel is a different cell, and they are connected in series.
- How much of the sun’s energy can the cell convert to electricity? (about 10-20% efficiency, or ~100W/m^2)
- DO: calculate the efficiency of a solar panel, given that the intensity of full sun is 1000W/m^2
- You’ll need: ruler, multimeter, solar panel, pens and paper
- How much light does the solar cell need?
- DO: compare the voltage of a solar panel in the sun and in the shade
- You’ll need: Multimeter, solar panel
- What happens? (There’s less energy, so there’s less of a push on the electrons— and the voltage drops!)
Make the solar panel
- Each PV cell is kind of like a battery, so you can wire lots of cells in series to increase the voltage.
- You’ll need each cell to have a large area, so you get lots of electrons flowing (large cells)
- You’ll need a lot of cells stacked up to give these electrons a strong push (attach cells in series)
- Your favorite voltage/series analogy (water flowing, cars-atop-cars, Mean Girls, whatever) would be good to reuse here
- DO: make a solar panel that can charge your battery
- Materials: solar cells, cables to attach cells, soldering iron and solder, cable strippers, solid back plate for panel, clear front piece to protect panel, glue to attach cells…
- [NOTE: this section will need significantly more explanation, and some research into local material options.]
Make the charger
* Turn your solar cell into something useful: after you convert the sunlight to electricity, you need to store the electricity in a battery so we can use it whenever we want. What would happen if we made a solar lamp without any way to store the energy? (We could only turn on the light when the sun was out.) Would that be useful? (No!)
- Circuitry components:
- Resistor: to make sure we get the right voltage to the battery
- Diode: so you only have current in one direction— otherwise, the battery will start discharging when the sun isn’t shining!
- Indicator light: so you know when the battery is charging
- Battery holder: a cell phone battery is probably the most useful. What size is your battery? Can you make one holder that fits a few different size batteries? This could be a fun design project…